Did you have a nice Halloween? We had a very busy weekend with birthdays, Halloween activities, and visiting with friends and family.
Thursday, November 2, 2023
Our Halloween Night and Halloween Dollar Tree DIYS
Did you have a nice Halloween? We had a very busy weekend with birthdays, Halloween activities, and visiting with friends and family.
Monday, October 16, 2023
Easy Pumpkin Pail Crafts
The last craft is my pumpkin votive. I was recording these crafts for a reel, and realized after I was finished that I did not have still photos to post on the blog from when I was making it. I glued the pumpkin and a gem spider onto a black candlestick you can sometimes find in the candle aisle. I placed a flameless candle inside the pumpkin. If you would like to see a video, you can see it on my Instagram here.
Wednesday, August 30, 2023
Easy Halloween Gnome DIY
Gnomes can be very easy, and inexpensive to make, and there are a lot of different ways you can make a gnome. The way I am going to show you today, all you will need is a few items from the Dollar Tree and a glue gun.
Another thing nice about this craft is you can easily change out the gnome hat for each holiday or season with different fabric. I used Halloween fabric for this tutorial, but Dollar Tree has so many cute patterns available throughout the entire year.
The items you will need are:
- Dollar Tree styrofoam craft pumpkin - they are available in orange, white and black in store and online. You can currently buy the orange and white pumpkin in smaller quantities of only 4 on their website. Another cool thing is when you order online, you can often have your order shipped free to your local store.
string mop head
- Crafters Square fabric cuts - you probably wont need to buy this in bulk, but you can see some of the fun Halloween prints available this year with the link.
- wooden beads - Dollar Tree has beads available in all shapes in sizes that would be great for gnome noses.
- floral foam styrofoam cone - they are currently available online in small quantities of 4.
The first thing I like to start with when making my gnomes is the beard. You will need to pull out 16 strands from the mop and lay them on a flat surface,
With your glue gun start gluing the pieces at the top of the pumpkin. The strands will be longer than the pumpkin. Glue them as close together as you can if you do not want the pumpkin to show underneath.
Continue gluing on strands until they cover the half of the pumpkin.
After the cone is in place it is time to make the hat. Fold the fabric into a triangle shape, and cut to the size you would like for your gnome. The smaller the triangle, the smaller the hat. I made mine a little bit on the bigger side.
With the right side of the fabric on the inside, glue the edges of the flat side of the triangle together. (you can also sew this edge if you do not want to use glue). Once the glue has cooled, turn the fabric right side out.
Place the hat over the cone and adjust it so it looks something like this. You can glue the hat in place, but if you plan on changing out the hat for different seasons, you may want to use a small push pins to hold it place. Once you have the hat in place, glue on the nose. I named this gnome Trick because I used the fabric with scary jack-o-lanterns.
Monday, January 23, 2023
How to make easy faux ice cream
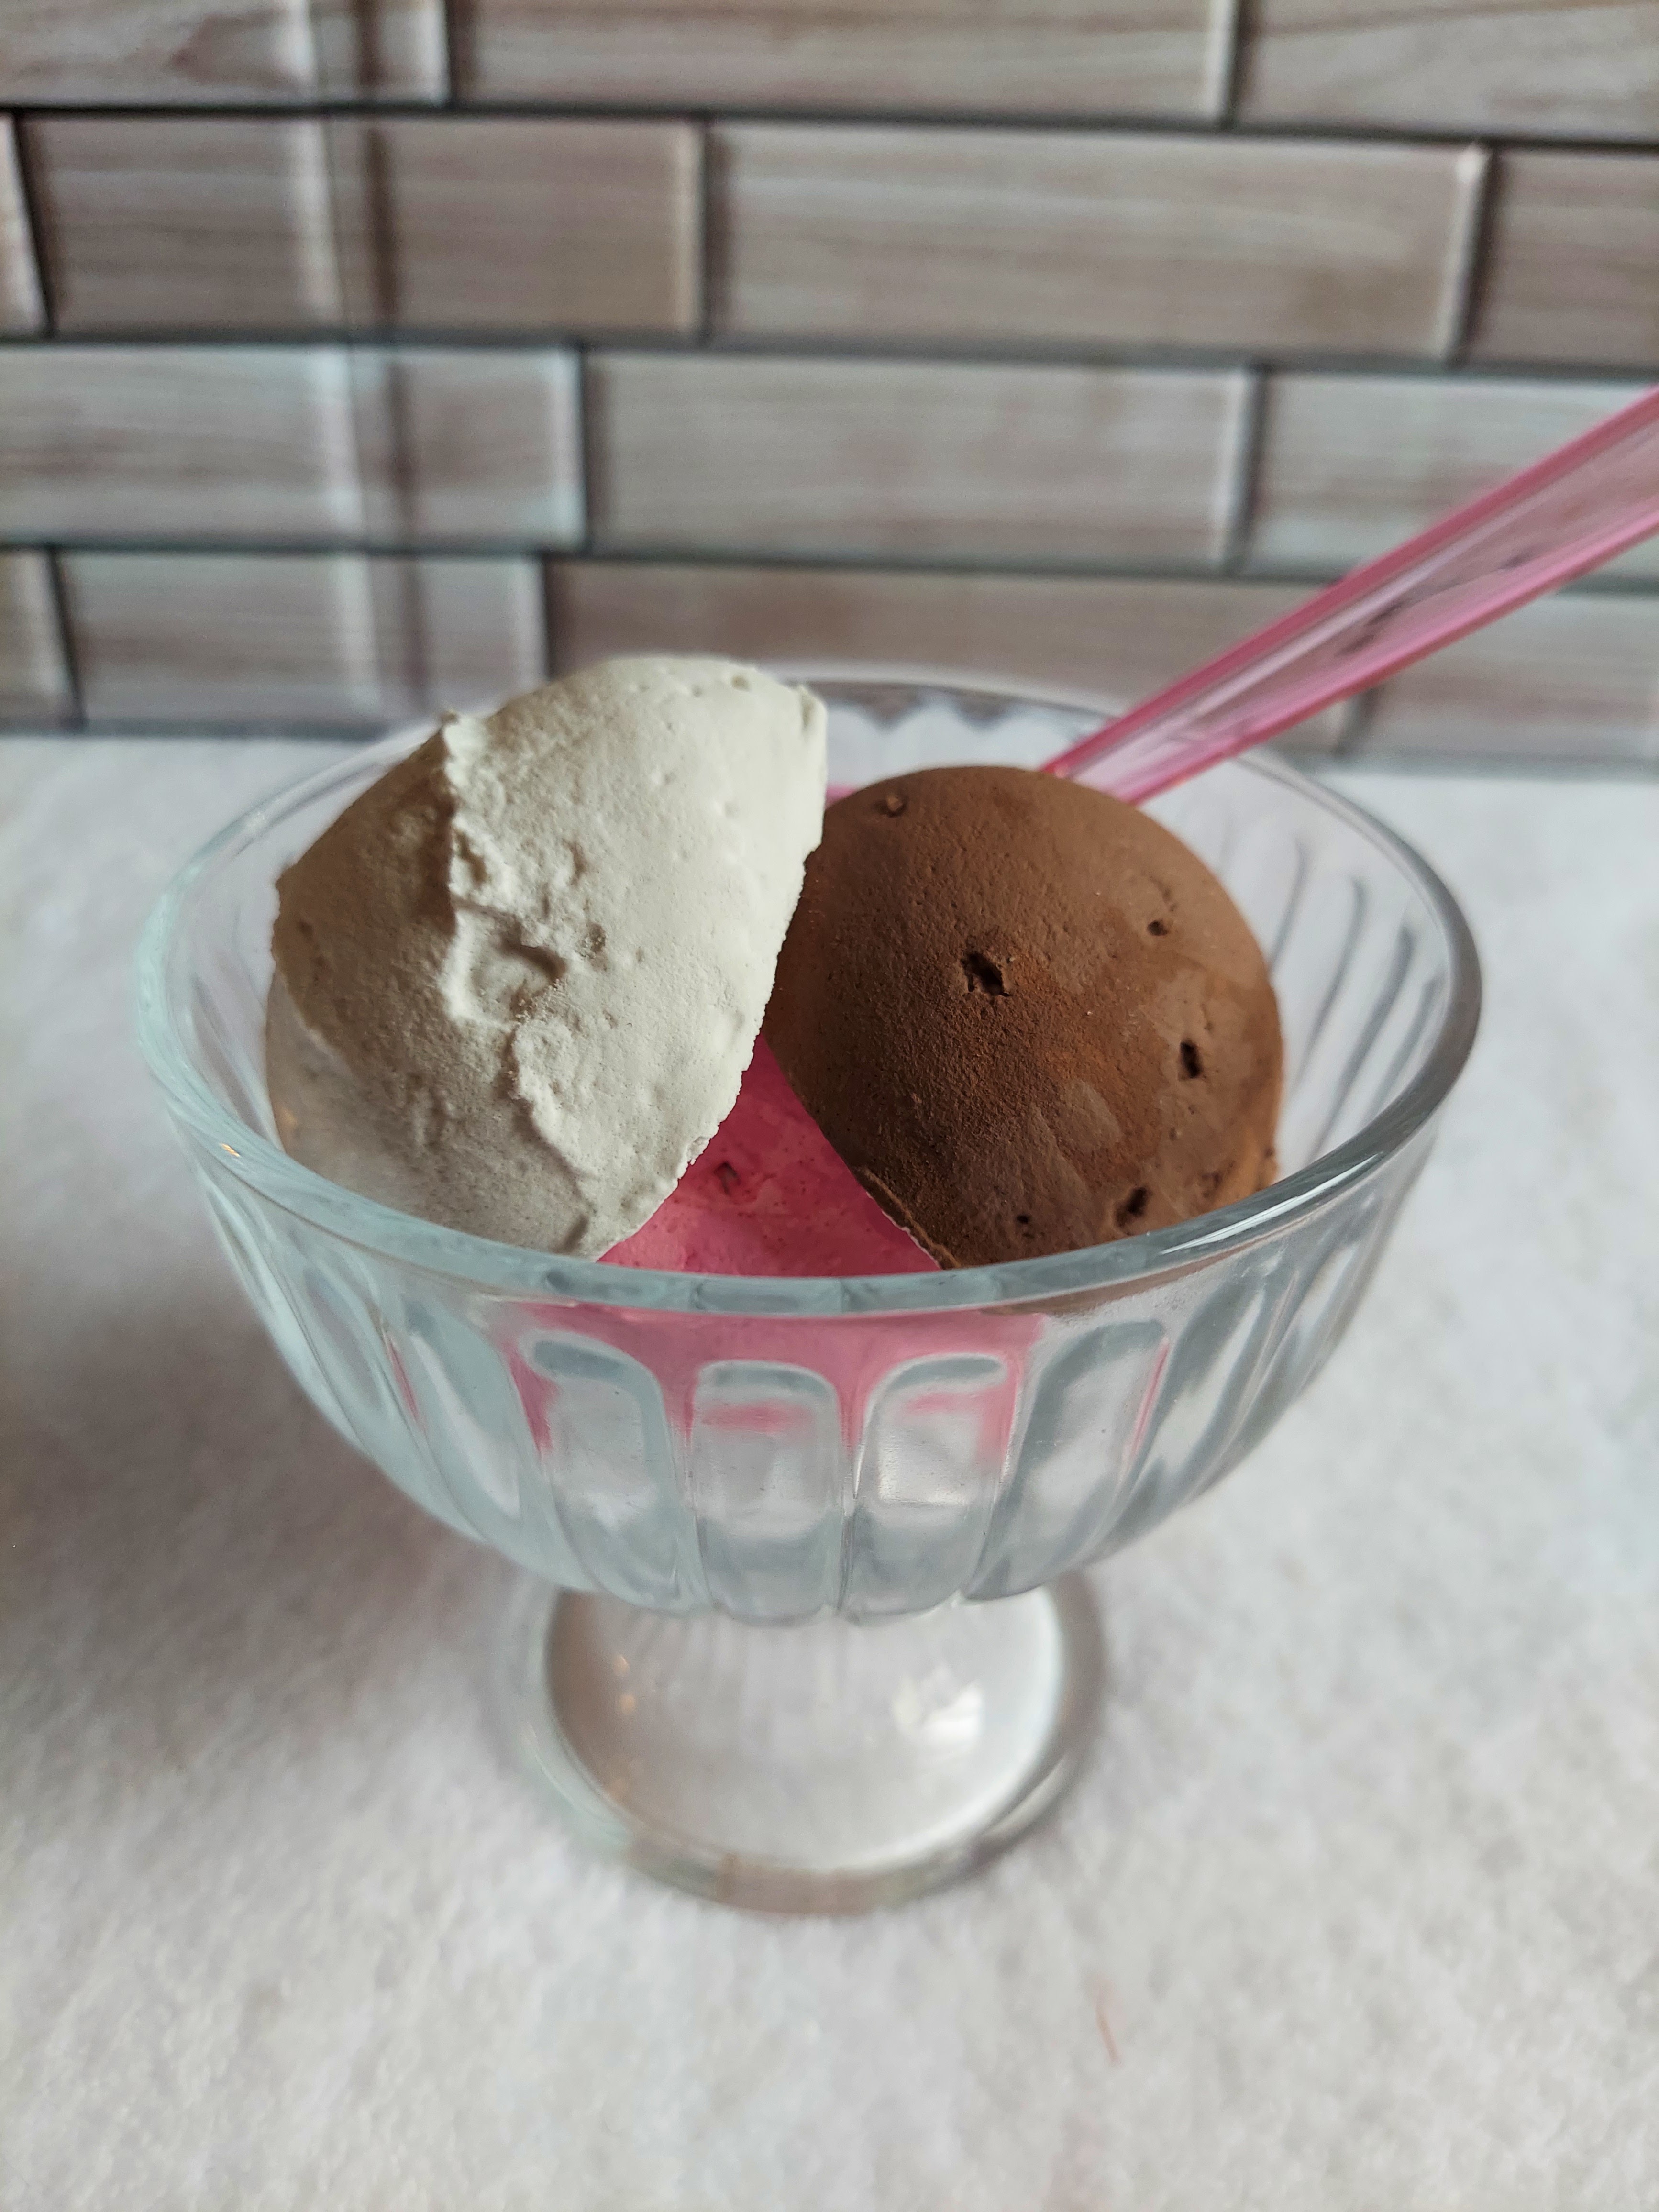
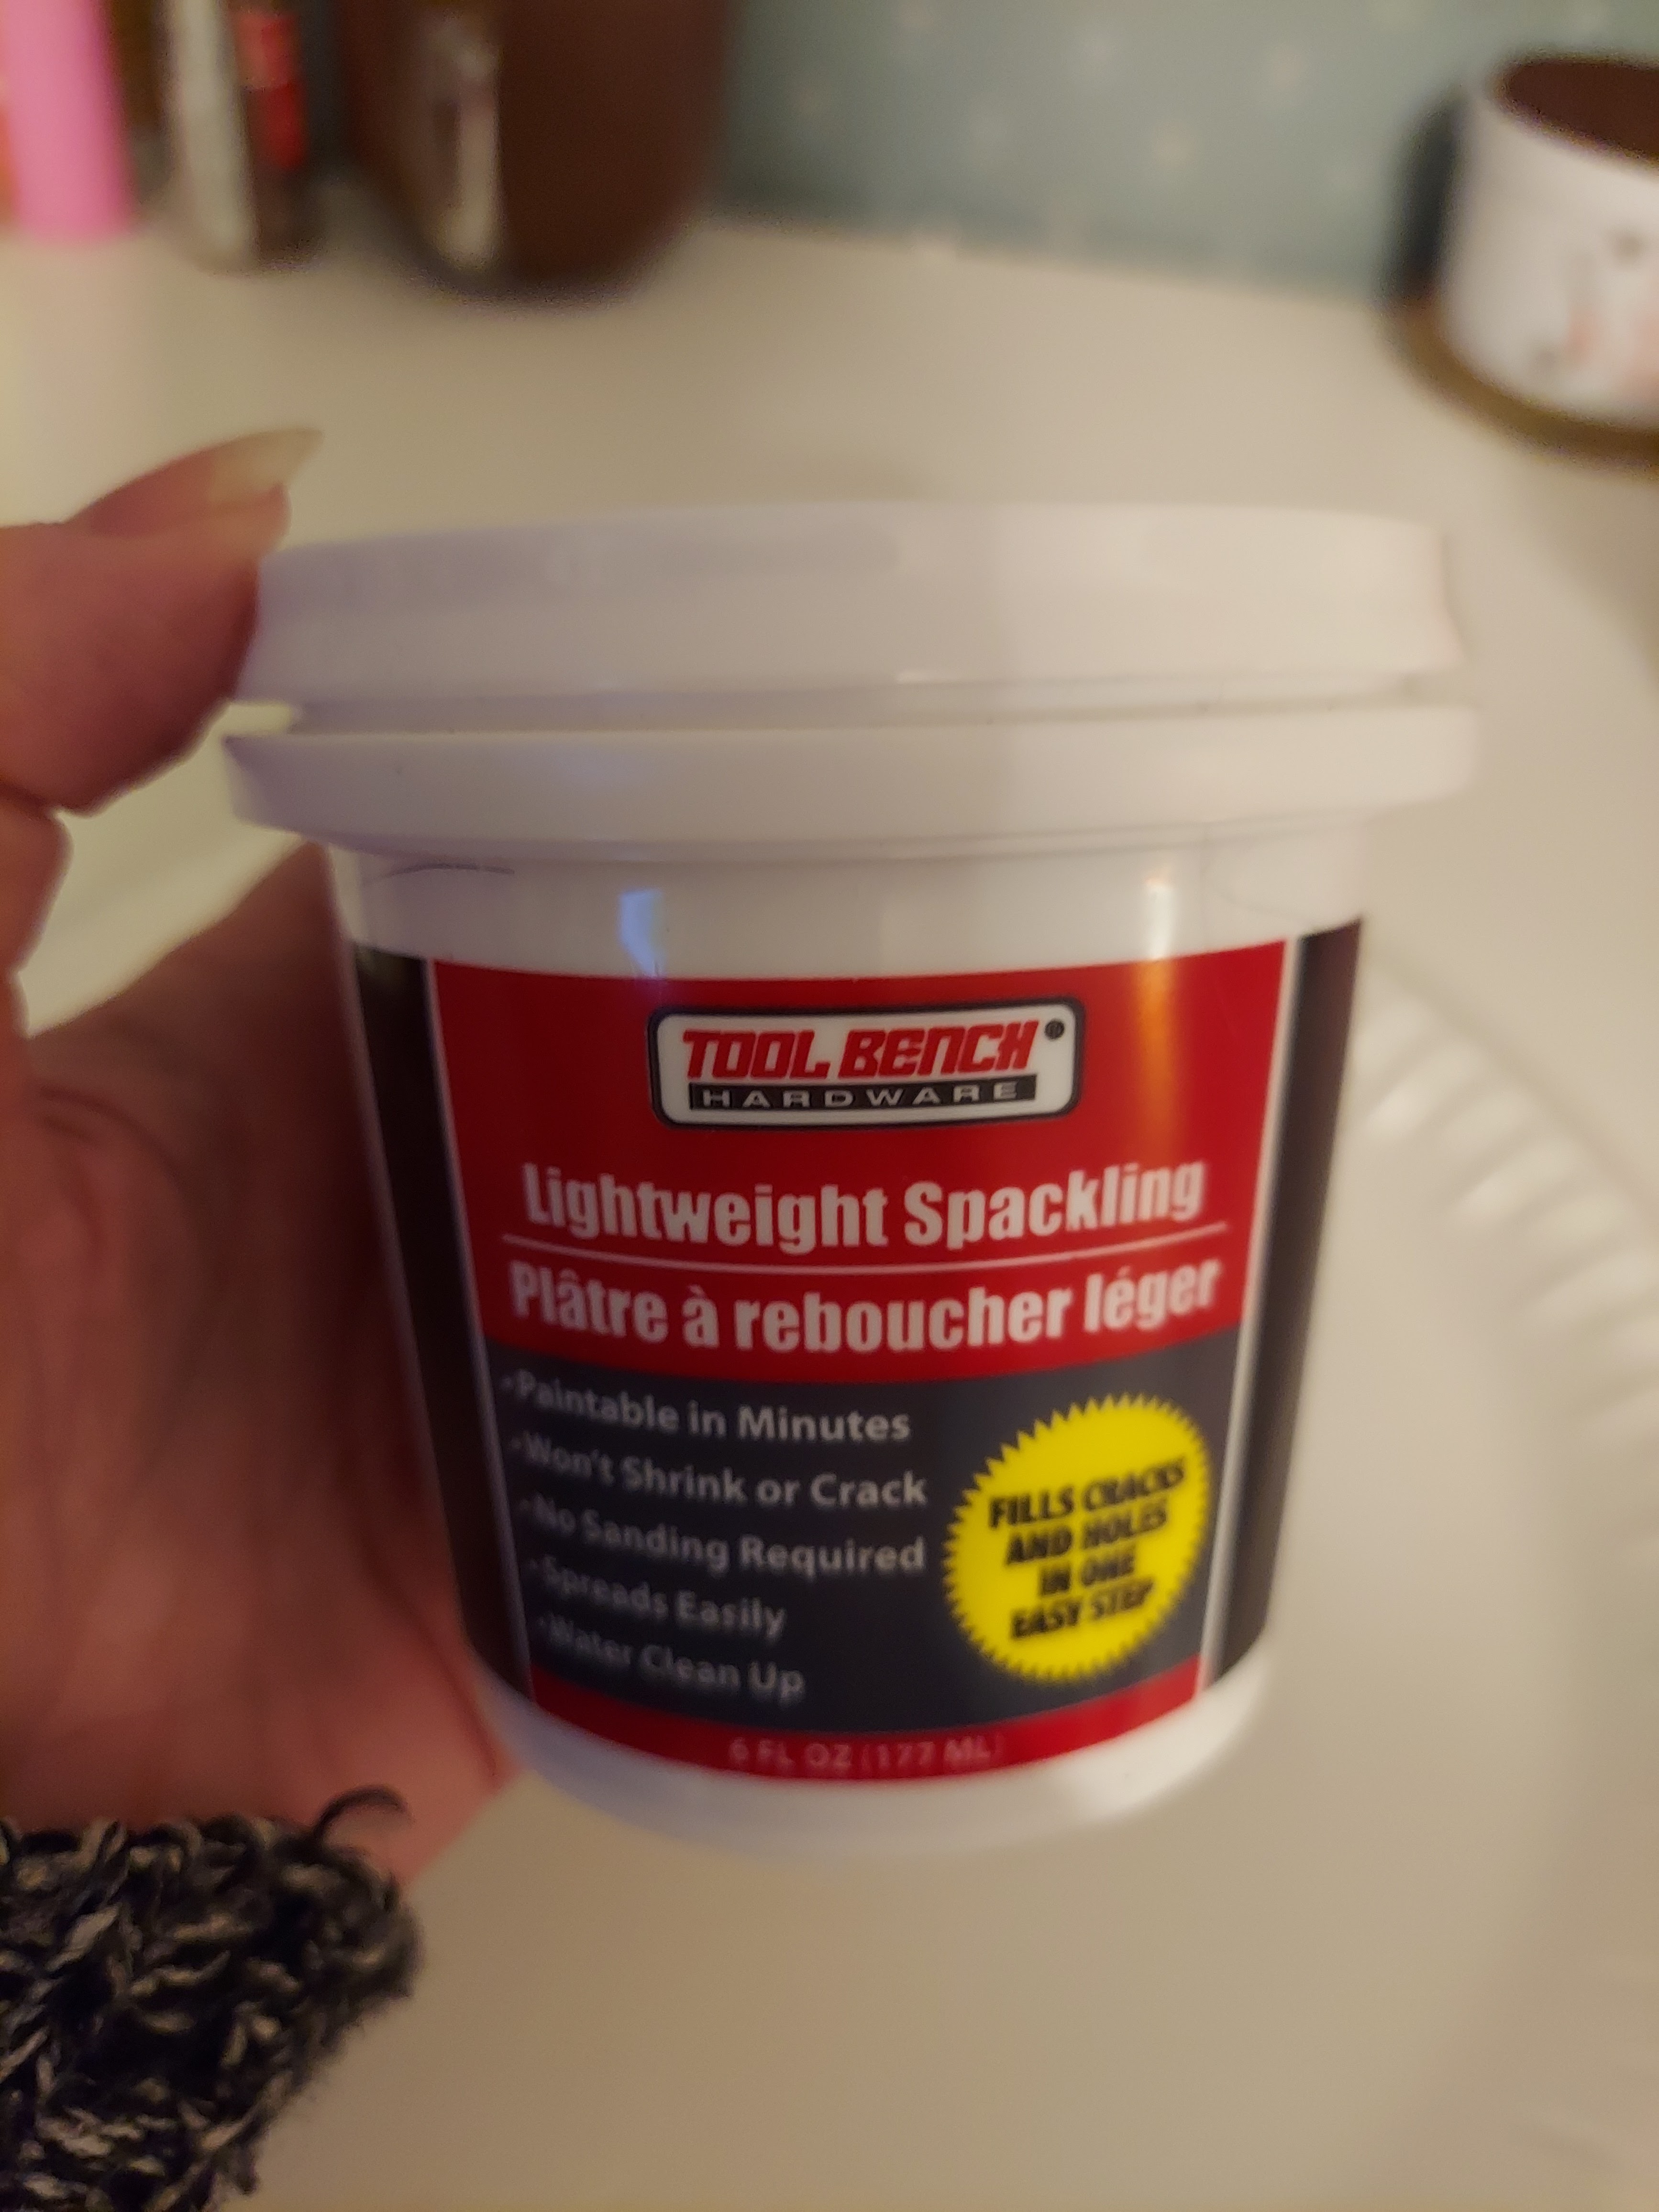
Using an ice cream scoop with a spring handle makes the prettiest ice cream. If you don't like how one turns out, that's okay, you can put it back in the bowl re-scoop it. The scoop in the bottom left has a little bit more water mixed in, which made it have a softer look. Place the scoops on a piece of wax paper to dry. I was able to make 3 scoops from one small container of spackle.
There are two ways you can make the colored ice cream. You can mix the paint into the spackle, or you can paint them when they are dry which is what I did. I mixed the brown and the pink with Dollar Tree white acrylic paint until I got the colors I liked to make the strawberry and chocolate ice cream.
Just a heads up, it's best to not be hungry when you are making these because they really look like real ice cream.
When the scoops were dry I put them in a glass dessert bowl. I think I got these at Dollar Tree awhile back, but since they no longer have the stickers on them, I am not sure.
If desired you can add faux chocolate syrup, faux whip cream or even faux cherries from Hobby Lobby to your ice cream. I will be making some more of ice cream treats in the near future, and posting more faux ice cream DIYS.


.jpg)
.jpg)
.jpg)
.jpg)
.jpg)
.jpg)
.jpg)
.jpg)
.jpg)
.jpg)
.jpg)
.jpg)
.jpg)
%20(2).jpg)