Saturday, October 28, 2023

Dare to Share Saturday!

It is Friday night, and you know what that means.. 
It is time to Dare to Share!! 


Happy Halloween! We just got home from the annual Halloween dance we go to every year. It was a lot of fun.  While at the dance we also celebrated my birthday and my boyfriend's birthday.  We have birthdays just a few days apart, so we always celebrate together. 

This week was a very busy one so I was not able to write a new blog post, I did however have a few things happen with Etsy and Instagram. 


I added a fun new listing in my Etsy Shop for Thanksgiving this week.  If you are looking for a fun activity for the kids, Tom the turkey is lost and needs to be found so he can lead the Thanksgiving parade.   I am adding more Thanksgiving activities for kids in the next few weeks.  

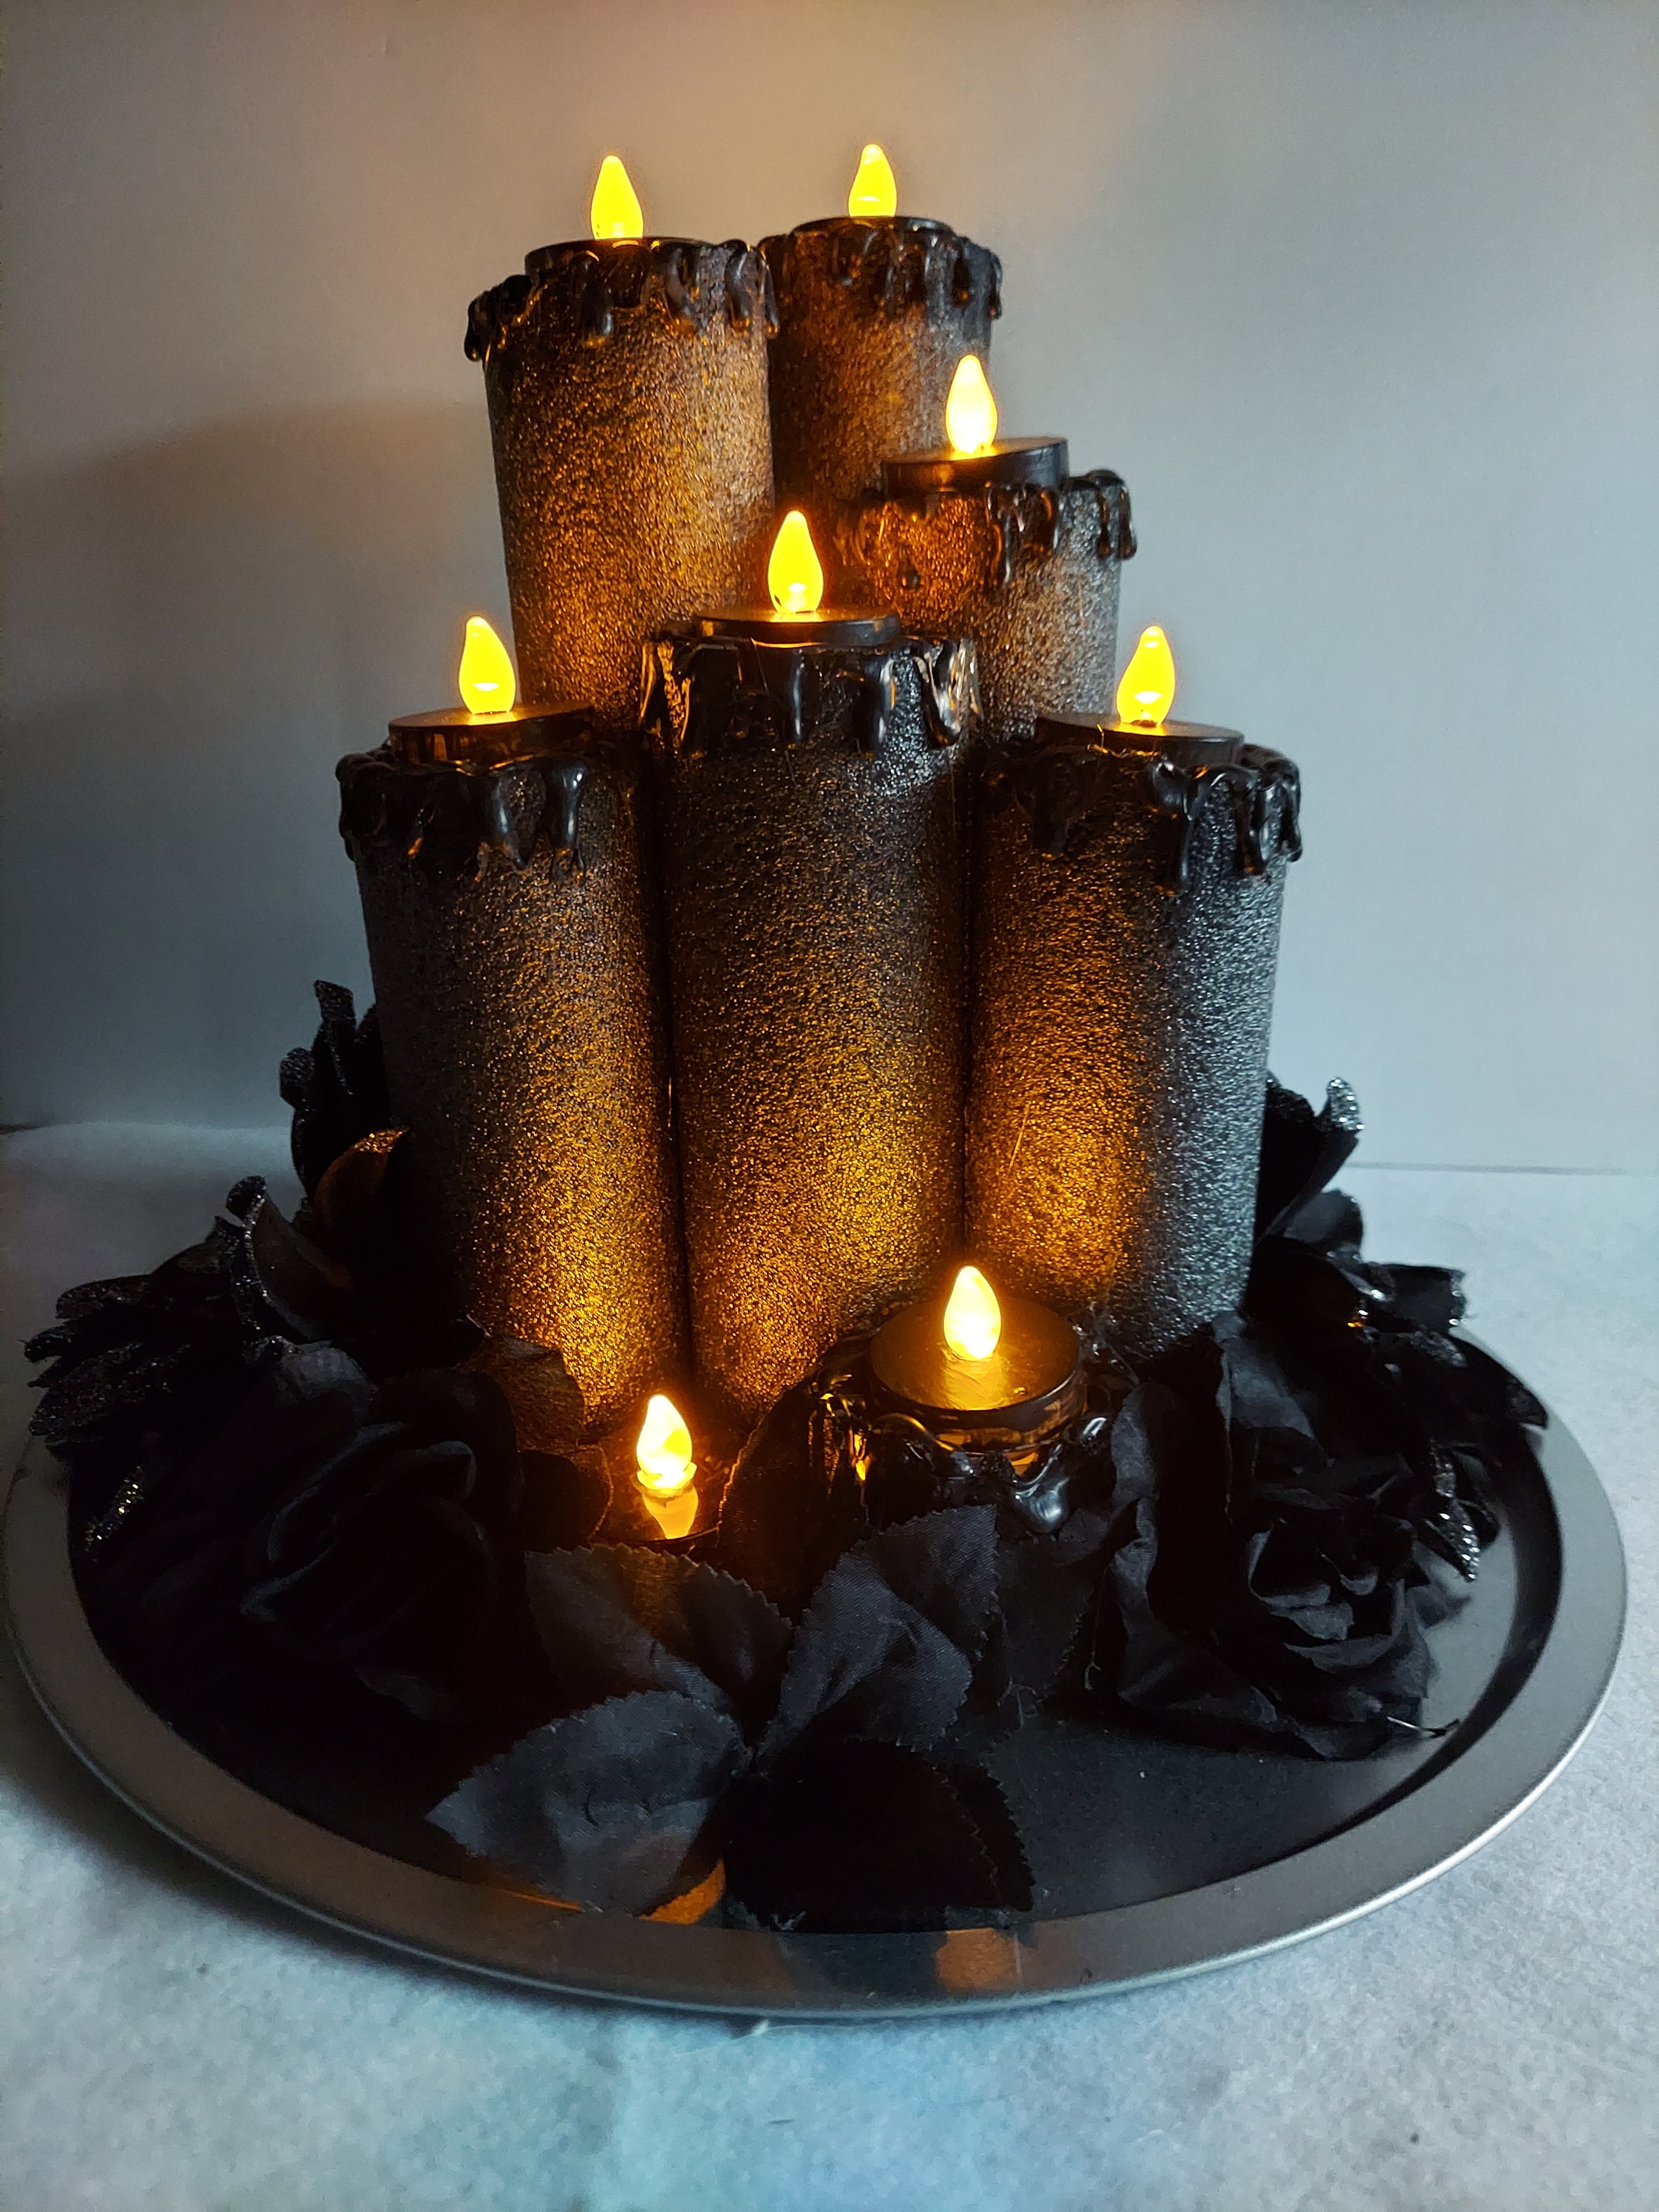
Did you already trick or treat where you live? We have ours on October 31st.  I am just about finished with a few more Halloween crafts that will be on display for trick or treat night. Many of the items and supplies are from the Dollar Tree.  Some of the items have not been put outside yet, because of weather, but I hope to share them later this week. 

Well it is super late, and I need to get some sleep.  It's been a long but fun day, but I need to get this party started.  

Link up and HAVE FUN! 


You are invited to the Inlinkz link party!

Click here to enter
Read More »

Saturday, October 21, 2023

Let's Dare to Share!


It's Friday night, and you know what that means.. 
It is time to Dare to Share! 

Well this week was back to my regular routine.  Thankfully I got a lot of things done, because I definitely have a lot to do with birthdays and Halloween coming up very soon. 


This past weekend we went to the Ohio Renaissance Festival. I have been to the one in Michigan a few times before as well. There is always so much to see and do.  I think one of the most memorable costumes I saw was a guy walking around the entire day with a pumpkin on his head. The pumpkin was huge and had to be very heavy, but it was cool to see random sightings of him throughout the day.   


I had a lot of fun making these pumpkin crafts for our porch from plastic candy pails from Walmart.   Not pictured are also our pumpkin lantern and the pumpkin on our porch light. You can see and read more about them in my post easy pumpkin pail crafts


Another diy I finished this week were my spooky pool noodle candles.  They were very easy to make, and all of the supplies came from the Dollar Tree. You can see how to make them in my post here.


If you have an Elf on the Shelf or other Christmas Elf, do you realize they will be returning in just one month?!  Over on Instagram and TikTok, I shared a post about finding a lot of inexpensive props for your elf at the Dollar Tree.  I also have Elf Advent Activity Cards in my Etsy shop on sale this weekend.  You will receive a file of 40 different activities that your family can do for Christmas with your elf.  You can also use the cards for ideas on where to move them each night. :) 

Well now that you know what I have been up to, I would love to see what you have be doing.  Link up and HAVE FUN! 


You are invited to the Inlinkz link party!

Click here to enter
Read More »

Thursday, October 19, 2023

Halloween Pool Noodle Candles DIY


This is the first time I have attempted to try to make pool noodle candles.  Since it is Halloween time, I wanted to make them spooky candles.  


** This post also contains affiliate links and I will be compensated if you make a purchase after clicking on my links.

I used one pool noodle and cut it into 8 pieces of various sizes, a pizza pan, battery tea lights, and a glue gun.  When decorating my candles I also used some black roses and Dahlias.  All of the supplies came from the Dollar Tree

\

I arranged the noodles until I liked how they looked on the pan, before hot gluing them in place.  


I then used the hot glue to make drips on the noodles to make it  look like candle wax. 


PRO TIP - if you have a duel temp glue gun make the drips with the LOW SETTING.  Thankfully I started with the two smallest candles, because I had my glue gun on high. Oops! I may have melted them a bit.  It's okay though, they will be hidden with the flowers later. 


I used black paint to cover the glue drips. I only had white tea lights, so I also painted the top half black as well.  I have seen some people use spray paint for this step. I did not have any on hand,  so I used acrylic paint, 


Since the tea lights  will fit into the pool noodles, I did not need to paint the bottom half.  


Once the candles were done, it was time to decorate the pan. 


I glued on two large black Dahlias, and a black rose bundle from the Dollar Tree . I would have use more rose bundles, but I only found one. I took apart the rose bundle, and with the Dahlias I had enough flowers to cover the entire pan.  


I LOVE how my pool noodle candles turned out. It was so easy to make.  I am now planning on making a white candles for Christmas, and decorating them with Christmas flowers.  
 

Read More »

Monday, October 16, 2023

Easy Pumpkin Pail Crafts


Did you know that those inexpensive  Halloween candy pails, actually can be used for many things and not just to collect candy. 

This past weekend, I used some of those pails to decorate our front porch. 


** This post also contains affiliate links and I will be compensated if you make a purchase after clicking on my links.

I think this pumpkin witch is my favorite. In addition to a pumpkin you  will need a couple of items that can be found at the Dollar Tree


You will need two sets of hanging witch legs, and a witch hat. 


Since they only sell with legs at the Dollar Tree, and not witch arms, we will have to alter one of the set of legs. 


The legs are sold hanging on a ring.  Cut the legs off the ring at your desired length for your pumpkin witch. I left my witch legs on the longer side. 


To give the legs some dimension, I stuffed each one with a plastic bag. (I have plenty of Dollar Tree bags from shopping there so much. LOL)  


It is pretty easy to make the hands.  I cut a hand shape out of the felt shoes.


Once all for limbs were stuffed, I hot glued them to the sides and bottom of the pumpkin. 


The last step is also pretty easy. Cut off the plastic handle, because we will not be needing it.  Place hot glue around 1/2 to 2/3 of the rim of the pumpkin. The reason why you do not put it around the entire rim is you want to leave enough space under the hat so you can place a light inside, and be able to turn it on and off.  


I left the unglued portion at the back of the hat.  


Another really easy craft is to turn one of the pumpkins into a hanging lantern.  


The first step is to cut off the plastic handle. I made the hole a little bit bigger, so I could add a hanging plant chain.  I found the chain in the garden section of the Dollar Tree.  


The chain actually had three hanging pieces to hang plants.  Since I only needed two pieces for the two holes, I removed the third piece. I am saving it in case I need it for something else later.  


I originally used a flameless candle as my light source but I wanted it a bit brighter, so I put in a push light from the electronics aisle. 


The last craft is my pumpkin votive. I was recording these crafts for a reel, and realized after I was finished that I did not have still photos to post on the blog from when I was making it.  I glued the pumpkin and a gem spider onto a black candlestick you can sometimes find in the candle aisle. I placed a flameless candle inside the pumpkin.  If you would like to see a video, you can see it on my Instagram here.


While we will still have more decorating to do before trick or treat night, being greeted by all the smiling pumpkins on our porch makes me happy. 

Read More »

Friday, October 13, 2023

It's Party Time! Let's Dare to Share!

It's Friday night, and you know what that means..
It is time to Dare to Share!  


What a good time we had spending several days in Michigan.  We got to see friends and family, and do a lot of fun things at the same time. 


On Saturday we went Jack O'Lanterns Unleashed in Lansing. They have some pretty cool pumpkins on exhibit at the Ingham County Fairgrounds.  My favorite was this pumpkin sculpture of Taylor Swift.  


After leaving Lansing, we spent some time with my kids before the next leg of our trip. On Monday we made a stop in Frankenmuth , Michigan. It is a quaint tourist town with amazing food, quaint shops, and Bronners the "World's Largest Christmas Store".  While I was living in Michigan, I made sure to take a least one trip to Frankenmuth each year.  It can be pretty busy on weekends this time of year. Going on Monday and Tuesday was definitely worthwhile. We had low crowds and could see things that we normally don't get a chance to see when there are a lot of people.  


At the last Dare to Share party, I teased that I was going to be seeing one of my favorite bands of all time in concert while we were in Michigan.  Did you guess it correctly?  I actually have two bands that I consider my favorites.  Queen and Bon Jovi. I have wanted to see both of them for years!! I almost had the chance to see Bon Jovi a few years ago. A friend got the tickets and we were all set to see them in July of 2020.  Well as you know, concerts were all canceled during during 2020, so that did not happen.  When we found out in March of this year that Queen was going on an American tour we made sure to get tickets.  I am so happy we went. It was the BEST.CONCERT.EVER!  It was so surreal to see Brian May and Roger Taylor play in real life.  Adam Lambert does such a great job as the lead singer.  We even had a few Freddy sightings on the big screen.   


While we were in the Detroit area, we made one more stop before heading home. If you love history and innovation you need to make a stop by the Henry Ford Museum .  There is so much to see, and we learned a lot of interesting things while we were there.  We were also hoping to see Greenfield Village while we were there, but it as closed on Wednesdays.

Now that you have seen what I have been up to, I would love to see what you have been doing.  Link up and HAVE FUN! 


You are invited to the Inlinkz link party!

Click here to enter
Read More »

Saturday, October 7, 2023

It is time to Dare to Share!

It's Friday night, and you know what the means.. 
It's time to Dare to Share! 

Happy Friday!  This is going to be a really fun weekend for us.  We are visiting friends and family in Michigan, and on Tuesday  we are going to be seeing one of my favorite bands of all time.  Any guesses who that might be?   We are also going to be taking a day trip to a place in Michigan that we really love to visit.  I will share more with you about that at next week's party.  

Impact-Site-Verification: -1762398558


This week I was going through some old photos and came across one of my favorite fall crafts.  I shared update post on how to make a chip can scarecrow.


New in the Etsy Shop are several new Halloween Riddle Games that are perfect for a Halloween party or Classroom party.  This one has a matching indoor and outdoor Halloween Scavenger Hunt.  

Now that you know what I have been up to, I would love to see what you have been up to, so let's get this party started. 

Link up and HAVE FUN! 


You are invited to the Inlinkz link party!

Click here to enter
Read More »

Wednesday, October 4, 2023

Chip Can Scarecrow


I was going through some old photos the other day, and came across one of my favorite fall crafts I made some time ago. You do not need a lot of supplies to make this scarecrow, just some paper, raffia, and adhesive of some kind.   


I color blocked the paper onto the can for the face, shirt and pants.  


I drew on the face with markers, and used a scrap of paper for the nose.  I added small white dot to the eyes after I took the picture.  


I then added some marker details to the shirt and pants. I used two thing scraps of blue paper for the overall straps, and a scrap of orange for his patch. 


The arms are made from a strip of paper about three to four inches long, and the whatever width you prefer.   Fold the paper about an inch on one side and attach it to the body. 


Add raffia to the head and arms 

The hardest part of the scarecrow is to make the hat Ball up a piece of a paper and tape it to the top of the head.  It will give the hat shape and dimension.  


Cut a circle out of thin brown paper big enough to make the hat.  If you don't have thin paper, a paper lunch sack will work well.  Have someone hold the paper in place while a piece of string is tied around the hat, to give the hat shape. 


Trim the string if needed.  


Fold the paper hat up around the string to make the brim. 


I found a cute sunflower sticker and added it to the hat, and he was finished.  I love how cute he looks sitting out during the fall.    


Read More »