Sunday, October 31, 2021

Thanksgiving Turkey Countdown

And just like that, Halloween is over, and the holiday season has begun.    Thanksgiving is three and half weeks away, so it's time to start planning our family gatherings.  Here are some of my past easy turkey crafts that you can put together in no time. 


These turkey napkin rings are one of my favorite Thanksgiving crafts I ever made.  They are pretty easy to make, and make a statement on the table. 


These turkey treat boxes are another easy craft that will look cute on your table, and you can fill them with sweet treats. The containers from Dollar Tree. While you may not need a case of them online, here is the link so you can read more about them.  


Brighten up your table with these turkey place cards


If you any leftover Dollar Tree craft pumpkins, you can turn one into a turkey pumpkin that also works as a centerpiece.


A fun snack you can make as you prepare your Thanksgiving dinner are these "turkey" sandwiches that can be made with your favorite sandwich ingredients (turkey, tuna, chicken etc..) 


Turkey treat cups  look so cute filled with candy pumpkins or candy corn.  


This cute turkey votive will great your guests wherever you want to place him.  

Do you have any turkey crafts or traditions that you would like to tell us about?  Leave a comment in the comments below.  


Read More »

Saturday, October 30, 2021

Dare to Share #492


It is Friday night, and you know what that means..
It is time to Dare to Share! 

Happy Halloween weekend!  This weekend is fun for me, not only is it Halloween, but also my and my boyfriend's birthday week.   Tonight the party is being a posted late because we just got back from a Halloween Dance Party. 


We were one of the finalists in the couples costumes contest. I loved my dress, but it was a bit hard to dance in because of how long it was. 

Do you have any fun plans for this weekend?  We do. We want to go get our annual birthday shake from a local bakery, watch a few big football games, and possible visit a local Halloween activity in a nearby town.   

It's been another busy week at school, and the kids were all a bit crazy this week.  I did however have the chance to write a blog post this week.  Dollar Tree currently has several popular Christmas items  available online is small quantities that can be shipped to your local store for free. You can read more about those items here.  I also post many new Dollar Tree finds and crafts on Instagram if you want to keep up to date with the most current finds in store.  

Well it is very late and  time to get this party started, so link up and HAVE FUN!! 


You are invited to the Inlinkz link party!

Click here to enter
Read More »

Tuesday, October 26, 2021

Dollar Tree Christmas Items in Smaller Quantities

Even though it is not quite Halloween yet, it is definitely Christmas at the Dollar Tree.  In my inbox today, I got a very exciting email.  I found out that many of their popular items are now available online in small quantities. 

** This post also contains affiliate links and I will be compensated if you make a purchase after clicking on my links

As you know it is such a bummer when you are hoping to find a particular item only to find they are not in stock or sold out when you go to the store. Ordering online and shipping free to your local store, is one way you can be sure to get those must have items. Here are what you can currently find now on DollarTree.com in small quantities 


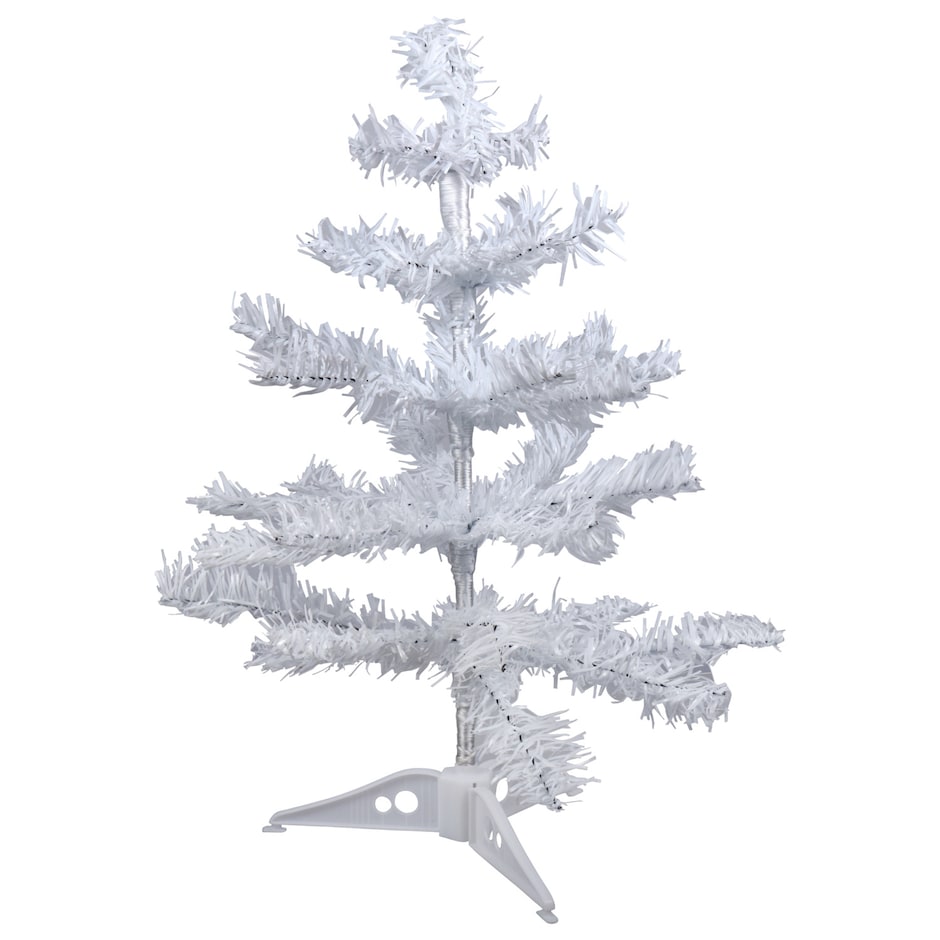
White Table-Top Artificial Christmas Trees, 18 in.
  ( min 3)


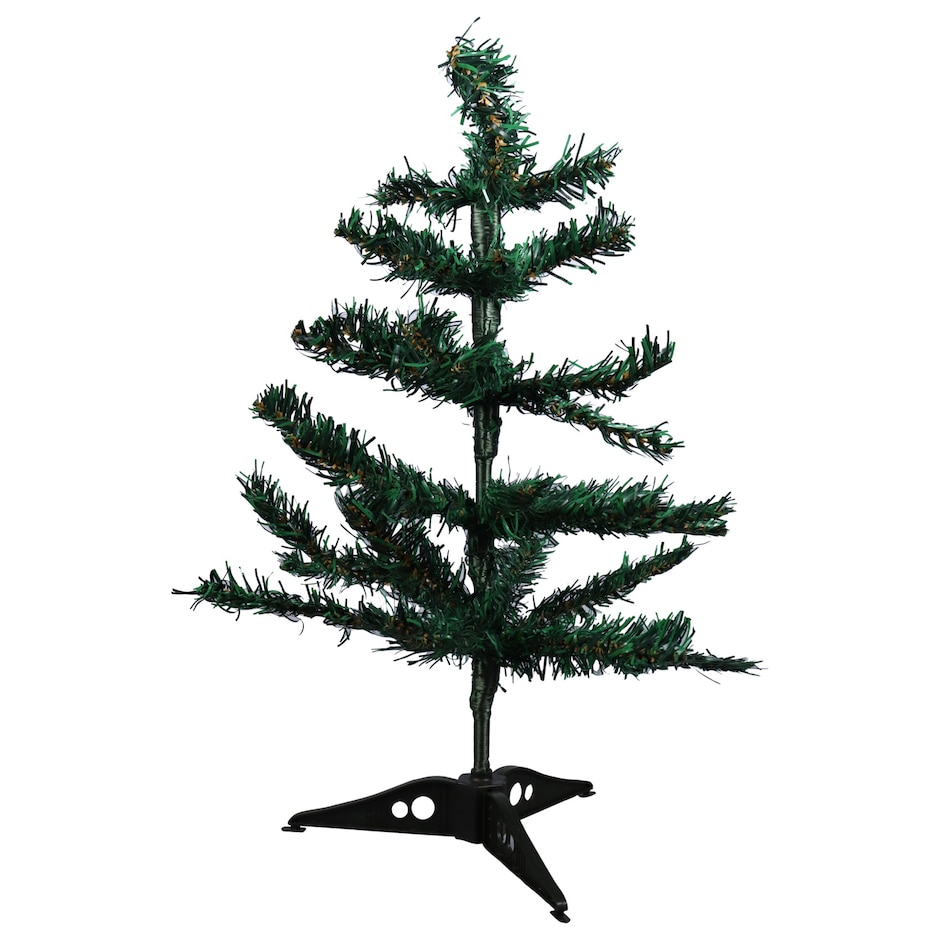
Green Table-Top Artificial Christmas Trees, 18 in.
 (min 4)


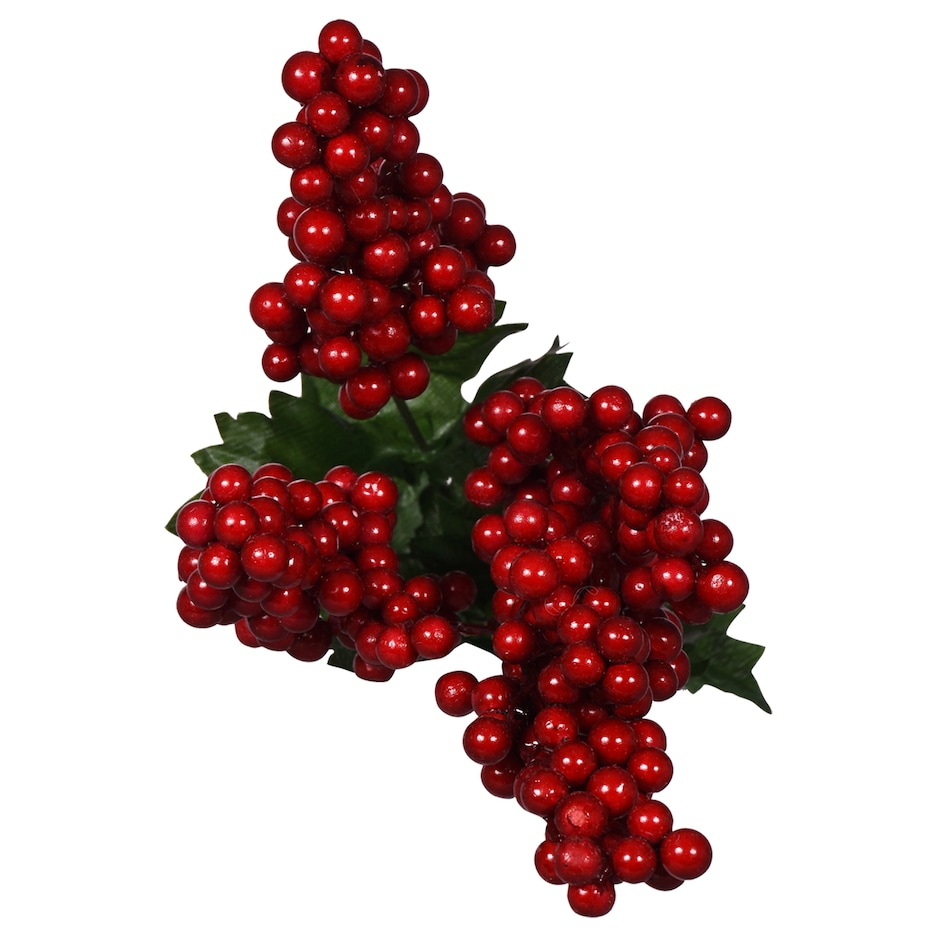
Christmas House Artificial Red Glossy Berry Bushes, 16-in.
 (min 4) 


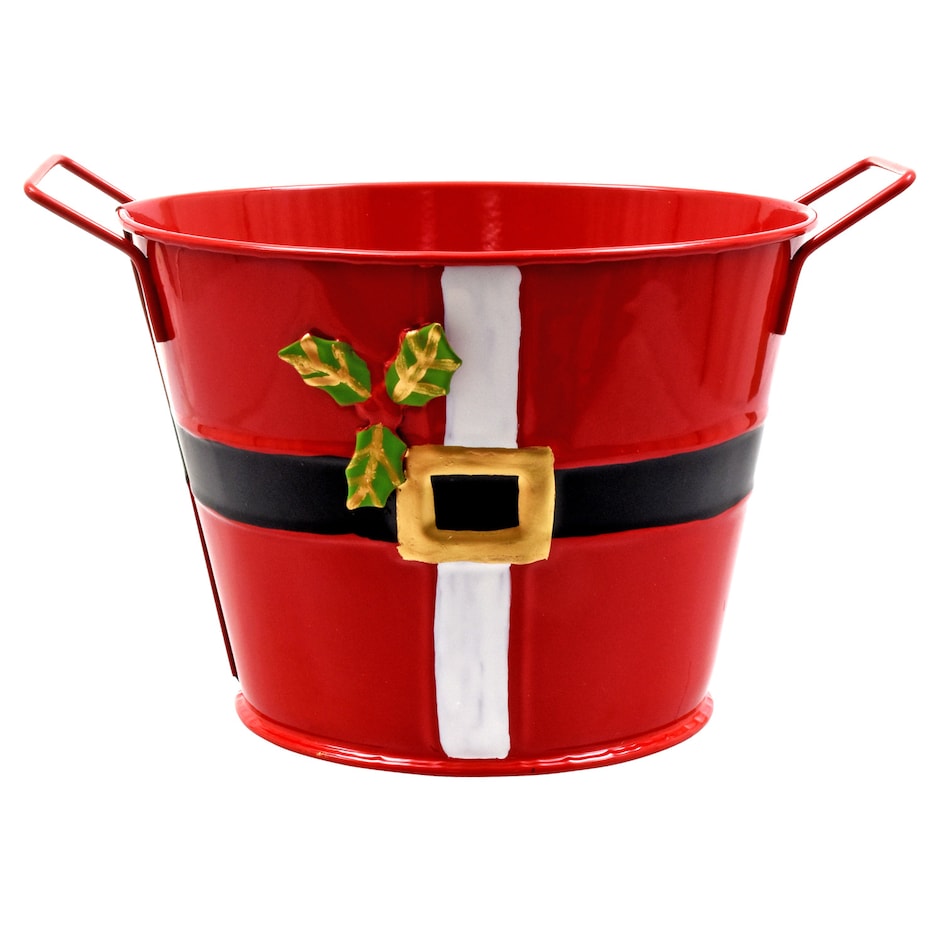
Christmas House Mini Metal Santa Buckets with Handles, 3.625x5.125 in.
 (min 4)


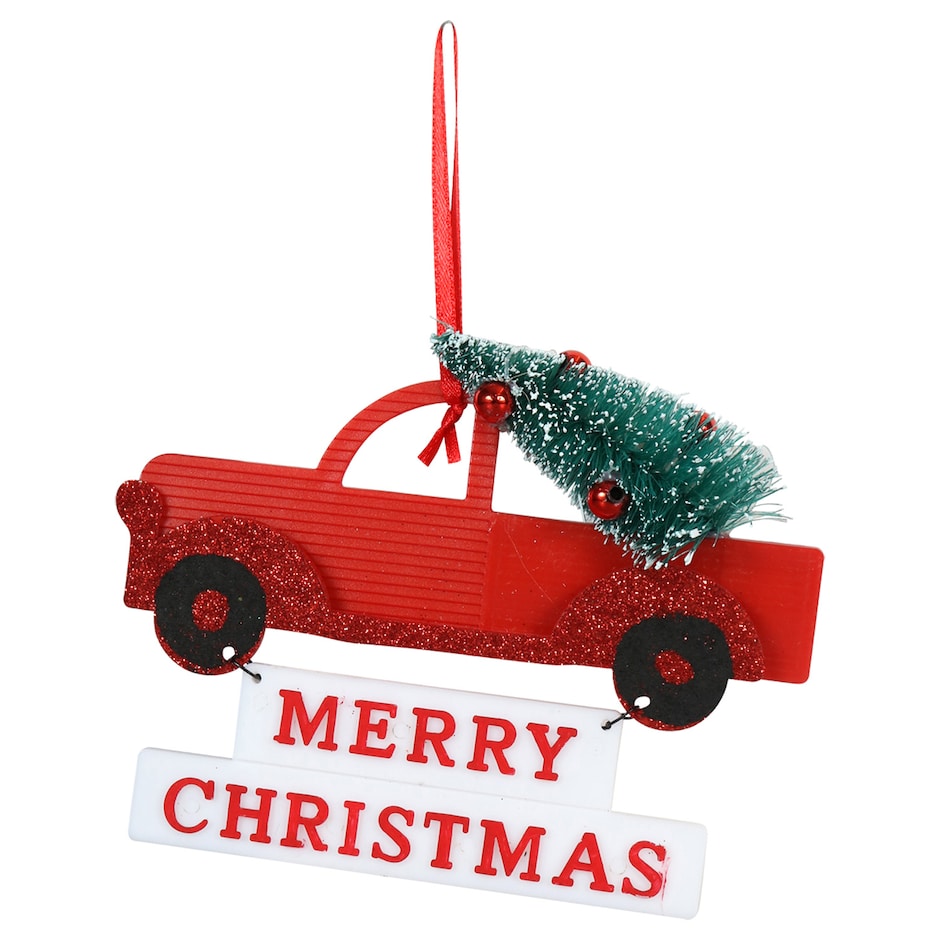
Christmas House Red Truck Ornaments, 5.125x4x1.125 in.
 (min 4) 


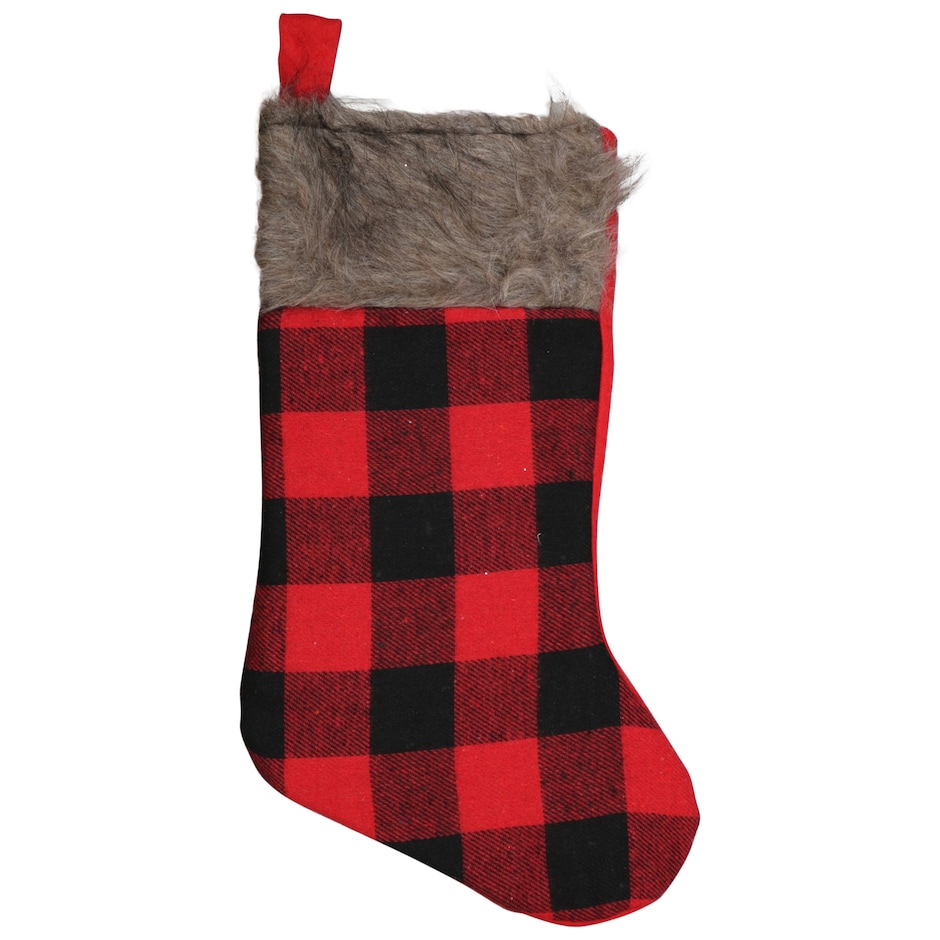
Christmas House Buffalo Plaid Stockings, 17.25x7.25 in.
 (min 4) 


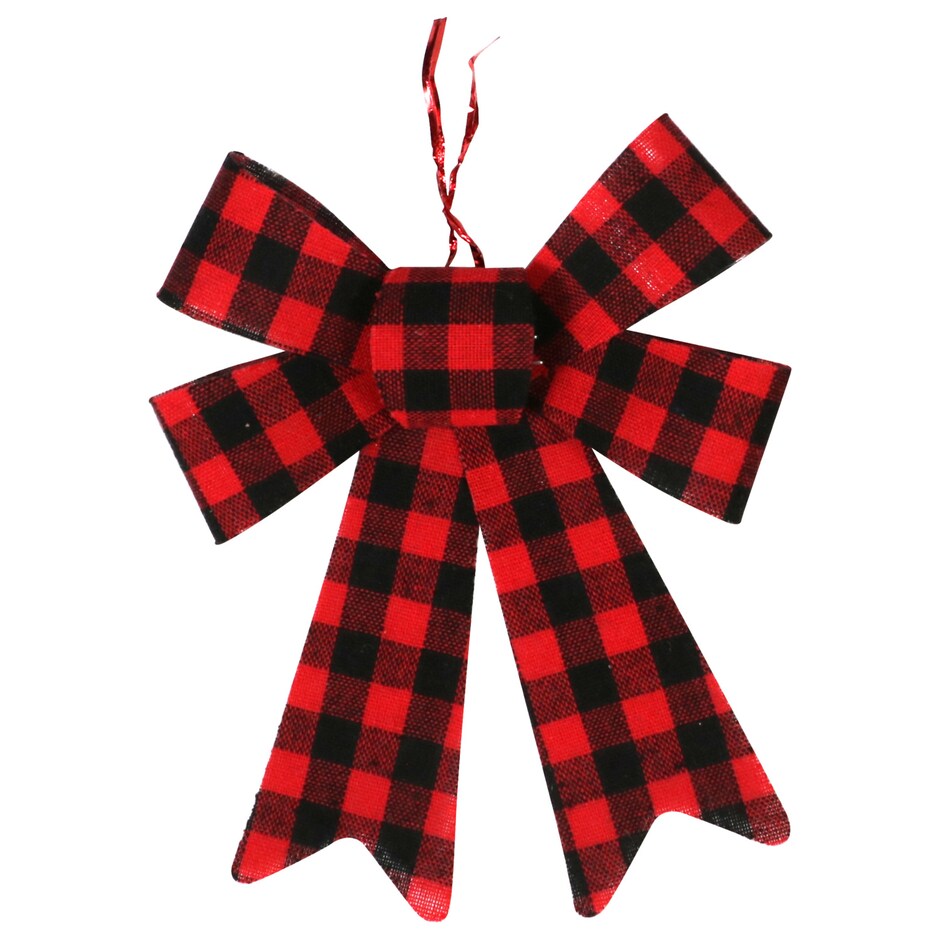
Christmas House Red and Black Buffalo Check Bows, 2-ct. Packs
 (min 3) 


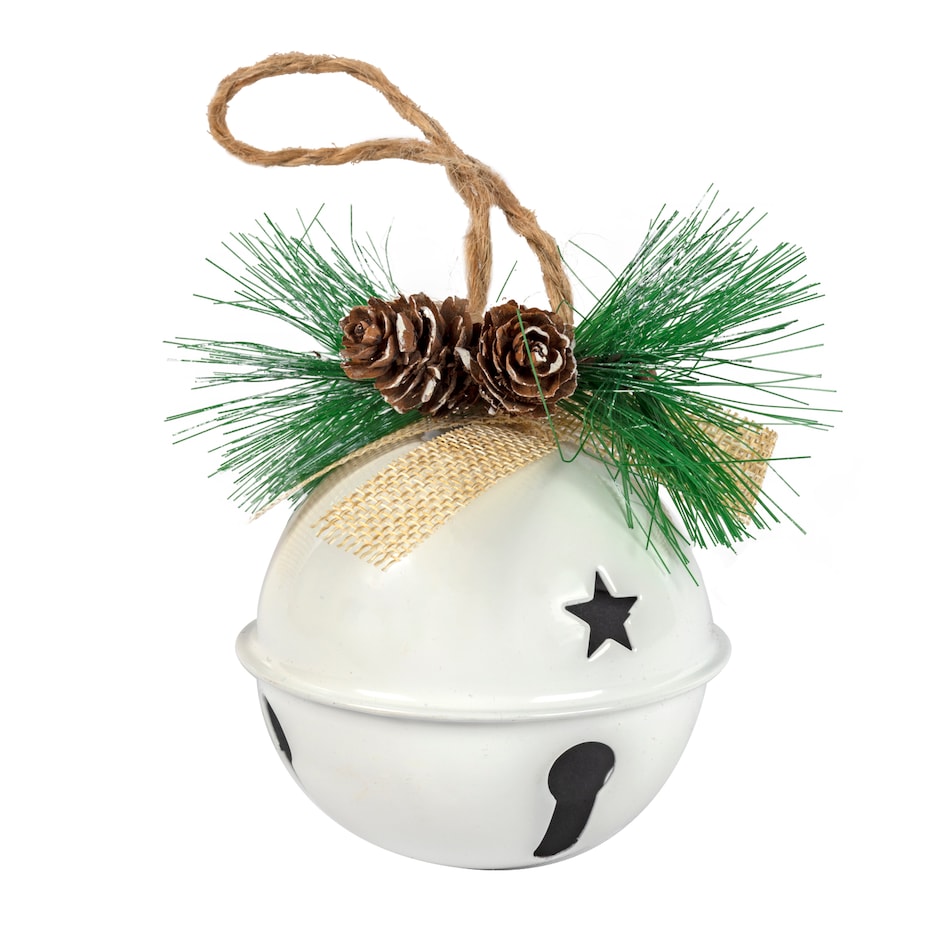
Christmas House Merry Large White Bell Ornaments with Pine


See more from the Christmas smaller quantity page here.


Other hard to find  items you might be interested in... 


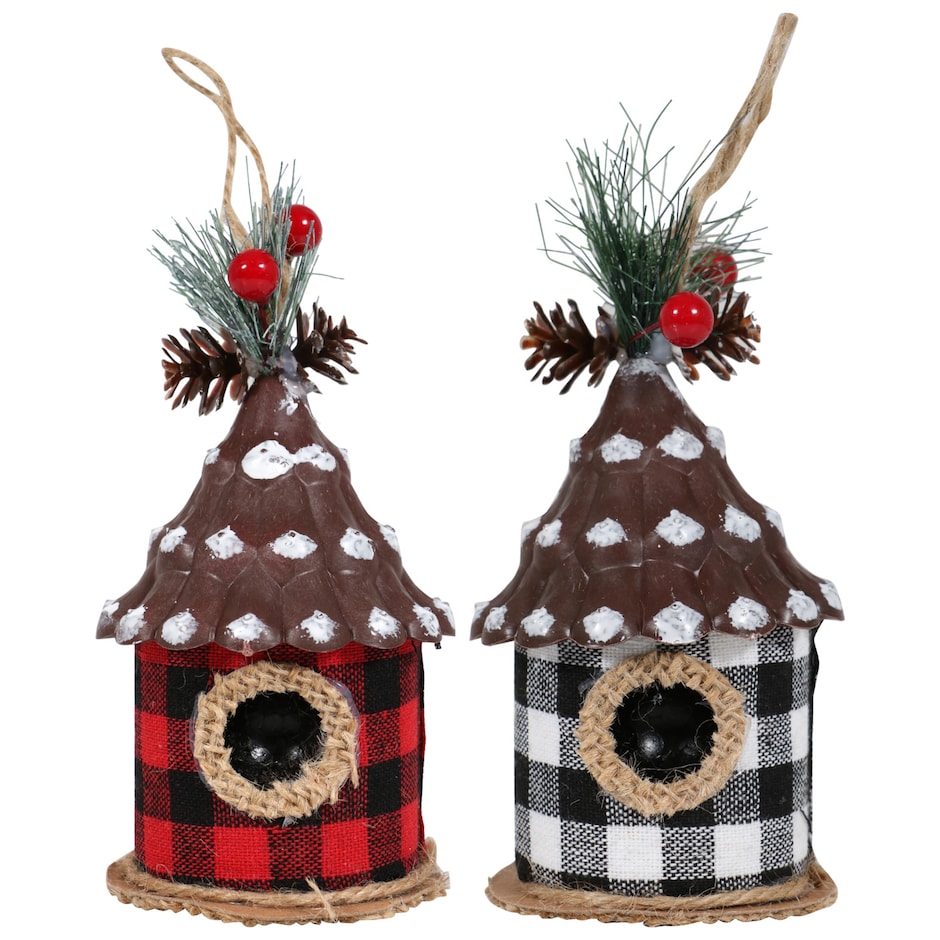
Christmas House Buffalo Check Bird House Ornaments


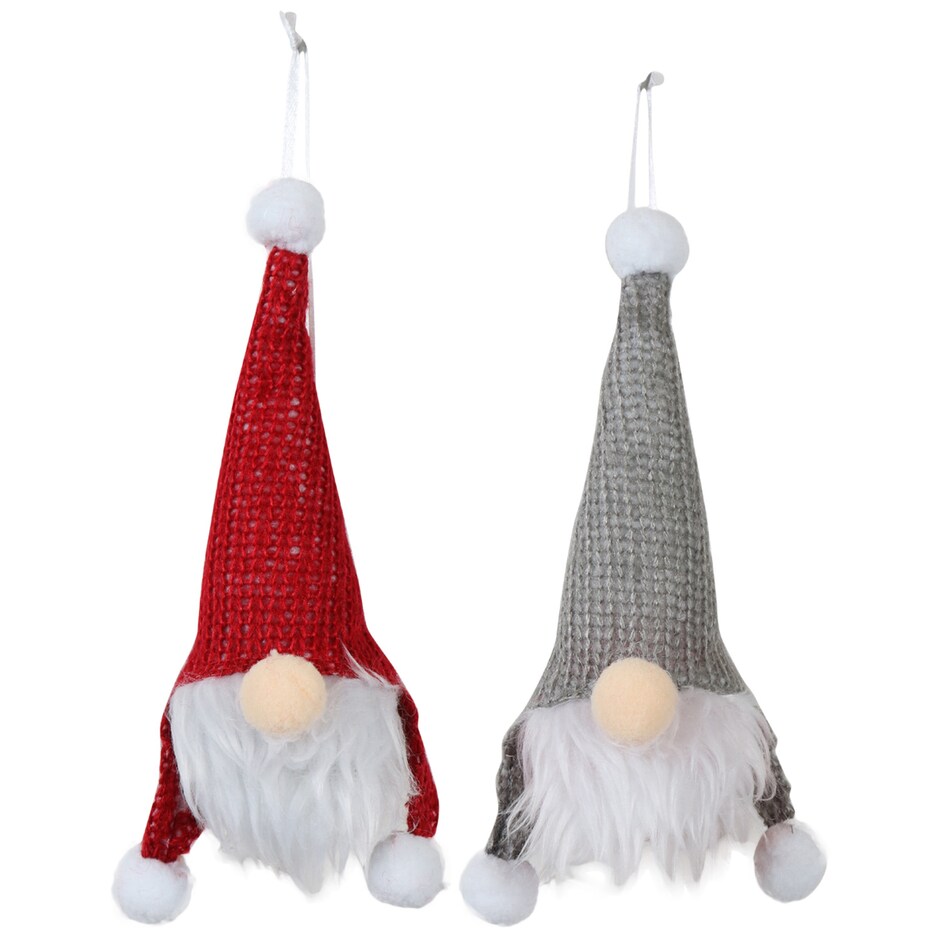
Christmas House Gnome Bell Christmas Ornaments, 7.125 in.


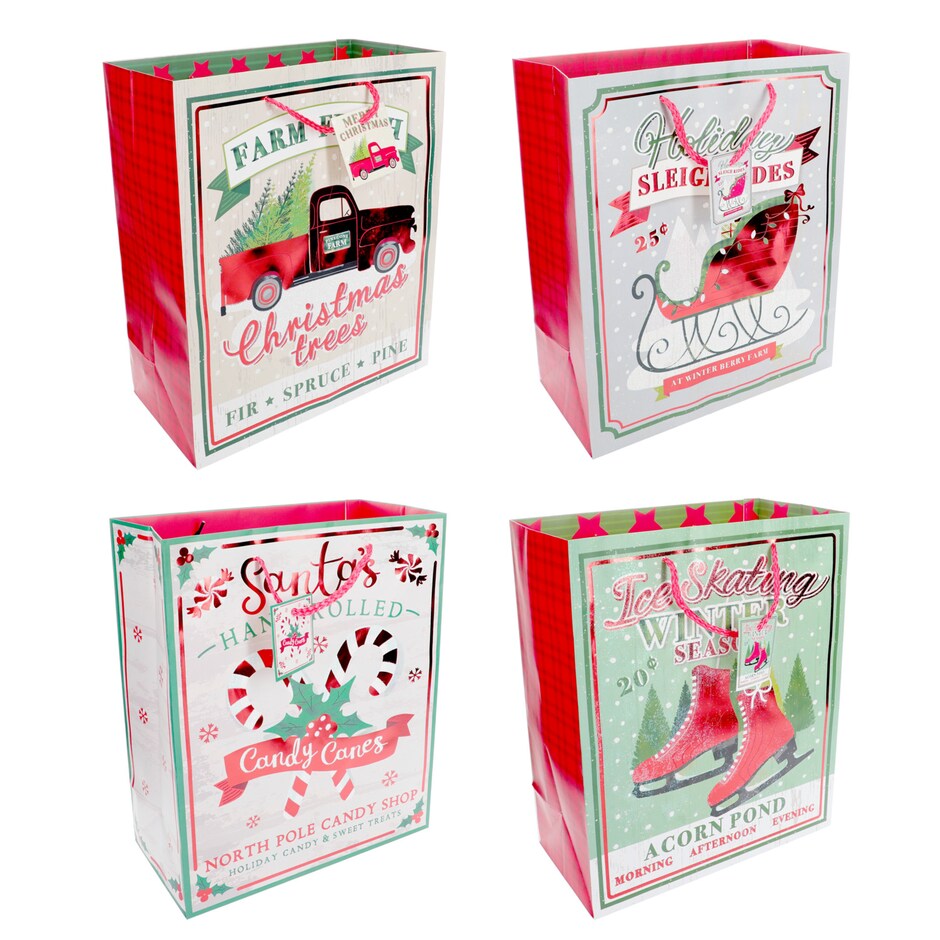
Christmas House Large Holiday Gift Bags, 12x10x5-in.


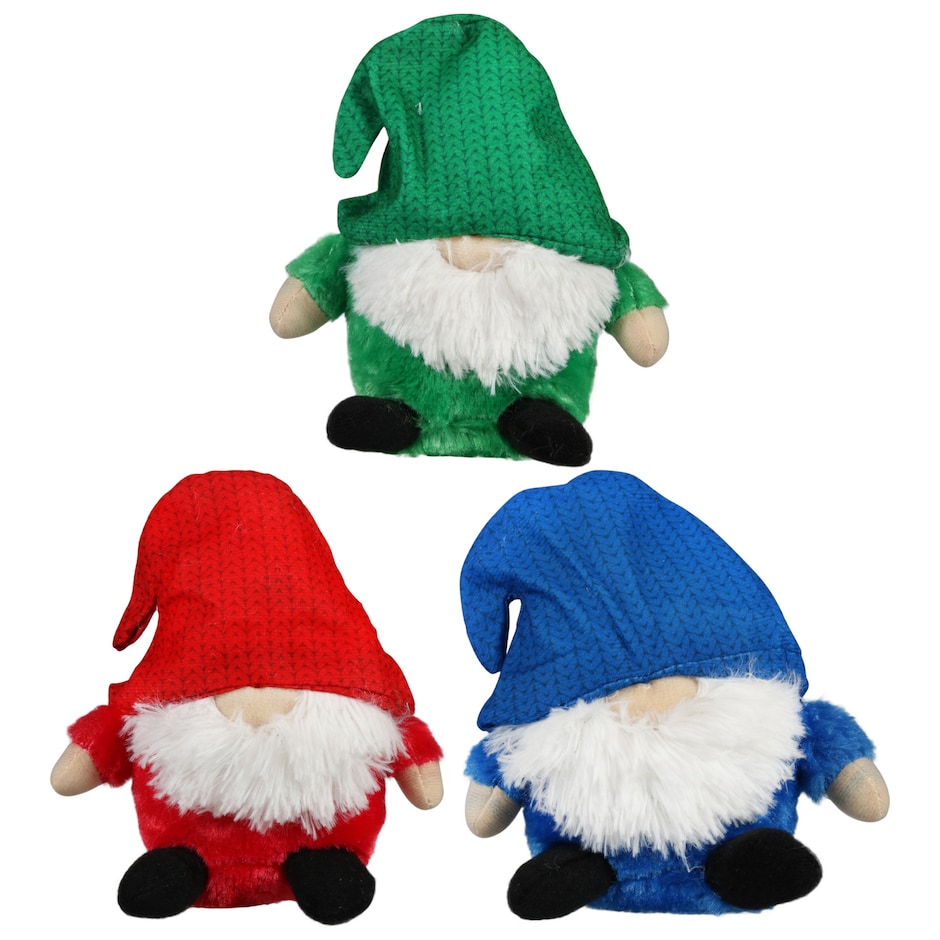
Plush Christmas Gnomes, 7 in.


If you would love to see all the current  Dollar Tree finds,  DIYs and Reels, but sure to follow me over on Instagram
Read More »

Saturday, October 23, 2021

Dare to Share #491


It's Friday night, and you know what that means.. 
It is time to Dare to Share! 

I just made it to Ohio to start our birthday week celebration.  Both my boyfriend and I have a birthday this upcoming week. so we like to celebrate together.   Our Halloween costumes arrived in the mail a couple of days ago..  We will be trying them on, and seeing what accessories we need to buy this weekend before the Halloween Dance/Party next Friday.

I do have a few new updates to share this week.  I was sent a diamond painting kit a few months ago.  On Thursday, I posted my Craft Ease Diamond Painting Review. Due to my busy schedule, I was not able to get as much of it done as I wanted to yet, but I wanted to make sure to post before the holidays because my readers are able to get a discount on a Craft Ease kit if you are interested in purchasing one.  (discount code is in the review post) 

Another thing that I am excited about is that  my Etsy shop Dancing Unicorn by Pam is officially open. I added a page link at the top of my blog where you can see some of my more recent listings. The link takes you to my Etsy site.  In the next few weeks I will be adding several Thanksgiving and Christmas items.  

Well it almost 1 am, so I better get this party started.  Link up and HAVE FUN!! 


You are invited to the Inlinkz link party!

Click here to enter
Read More »

Thursday, October 21, 2021

Craft Ease Diamond Dot Review


A few months ago I was asked by Craft-Ease if I would like to try one of their diamond paintings.  I knew a little bit about them, because my boyfriend's mother had made a few in the past year. We also bought a small kit for his daughter last Christmas as a gift, since she liked to craft.  I knew how much they liked their kits, so I said I would love to try it too. While I was asked by Craft-Ease to try a kit, this review is 100% my own opinion. 


On the website they have a large selections of kits to choose from.  I was drawn to one in particular, and if you have followed me for awhile you will know why.  My kit arrived in the mail in a nice sturdy box. 


I pulled out the kit from the box. The painting was rolled up and protected by a plastic bag. Also inside the bag was the supplies that I would need to make the diamond painting. 


I chose the Rainbow Unicorn Kit, because you have followed me for awhile you know I LOVE unicorn.  This kit is so colorful, and I know it will be beautiful when it is finished. 


The kit came with all the supplies I needed.  It included 2 applicators and the applicator gum, a tray to hold the diamonds while applying them, a pair of tweezers, applicator grips, and all the diamonds I need to complete the painting.  


When I received the kit, I did not know yet how busy I was going to become over the summer until now.   Between my boyfriends health scare, working full time and a couple of side jobs, I do not have a lot of time to get as much done on my kit as I would have liked  at this point.  I do feel though that I have enough information that I can share my review now, instead of waiting until I finish.


I sit down in front of the TV in the evening, and work on a few rows at a time .  It is very relaxing to do, but it is also a little bit time consuming for someone super busy like me.  I have a hard time sitting still for very long because of my ADD, and I also have a hard time seeing the pattern once the sun goes down. I have "older eyes" and not the best light in my apartment, so the codes can be hard to see on some colors.  Even with the lack of time and lighting, I really enjoy working on my kit. 


As you can see in this picture each color diamond has a small letter or shape code.  This is the upper left hand corner of my painting that I flipped upside down.  My boyfriend's mother gave me some good tips like start working at the top and then flipping it around, because you do not lean on any of the diamonds and the glue on the painting can easily stay covered with it's protective plastic.  When working on it, I pull just a little bit of the plastic off one small section at a time, and then recover it when  finished. 


I do have a few helpful tips of my own that have worked for me while working on my kit.  I found the perfect storage box for me at the Dollar Tree.  It is the Teaching Tree Rectangle Storage box. It is 10 inches by 8 inches and has a clasping lid.  They are  available online if you can't find them currently in the store.   It is just the right size to hold all of my supplies and diamonds. 


I put the diamonds in their own individual plastic bags and labeled them with their code so they are easy
for me  to find and use. Craft Ease has similar storage box on their  site that has 28 clear containers to keep the diamonds organized with inventory labels. 


Another tip of something I found very helpful, since I do not have a location where I can keep my painting sitting out is to keep it inside a project display board.  My painting fits safely inside when I need to store it, and it also is a sturdy work space when I am unable to sit at the table.

Would you be interested in trying your own kit?  Craft Ease has offered my readers a discount.   If you use the code PAMSPARTY-20 you will get 20% off.  A diamond dot kit would make a great gift! 


Read More »

Friday, October 15, 2021

Dare to Share #490


It's Friday night, and you know what that means..
It's time to Dare to Share!!

Last week during the party post, I mentioned that I was going to have a much needed day off, and I was going to be able to catch up on a few projects. It was a fun day! I was able to meet my best friend for lunch, and also make a project and write a post.  


Meet the twin gnomes Trick and Treat.  They are the new members of the pumpkin gang.  They were a lot of fun to make, and I think they are pretty cute. You can see how to make them here.

This weekend should be fun. My boyfriend is in town and we need to go find our Halloween costumes.  Our birthdays are both the week of Halloween, and we are celebrating at a Halloween party/dance.  

Do you have any exciting plans this weekend?  Also do you still dress up for Halloween? 


Well its looking to be that time, so let's get this party started.  Link up and HAVE FUN!! 


You are invited to the Inlinkz link party!

Click here to enter
Read More »

Sunday, October 10, 2021

Halloween Gnome Pumpkin DIY


I have been thinking of making a gnome pumpkin to add to my pumpkin gang, (that are also all made from Dollar Tree pumpkins) for awhile now.  Today was a perfect day for crafting, so I pulled out my glue gun, and twins Trick and Treat were born.  

** This post also contains affiliate links and I will be compensated if you make a purchase after clicking on my links.


All of my supplies can be found at the Dollar Tree, here is what you need 

Carvable Foam Pumpkins  (in orange, black or white) 

Crafter Square Fabric or Felt (I used Halloween prints) 


Wood Beads    (the beads are hard to find since they are very popular, my tip is to check out the new cute signs with the bead handles by the frames) 


Foam Floral Cone   (to make their hats stand up) 


Glue Gun   (they are currently being sold in store, be on the look out for them) 


Pull out strands of the mop head, and lay them down flat. (I used 16 strands) 


I cut the strands in half, and then in half again, making 64 pieces about 4 inches long. 


Using the hot glue gun, start attaching the mop pieces near the top of the pumpkin to make the beard.  I tried to get them as close together so the pumpkin would not show underneath.  I did not paint my pumpkins since they match their Halloween hats, but you can paint underneath the beard so the orange does not show through if you prefer. 


 Continue gluing until the beard covers the front half of the pumpkin. 


Pull off the foam stem, to make room to glue the floral cone. 


Glue the cone to the top of the pumpkin 


Fold the fabric into a triangle with the right side on the inside. 


You can sew the seams if desired, or you can just glue down the seam with the glue gun, and turn right side out when it has cooled. 


I had tried the hat on Treats head before adding the cone just to see what it looked like.  It definitely looks better with the cone attached.  


Once I got the hats looking the way I liked, I glue in place to the pumpkin.    The last step was to glue on the wooden bead noses. 


Trick 


Treat 

Happy Crafting! 


If you would like to see how to make other members of the pumpkin gang, you can see a list of all of them here.


Read More »